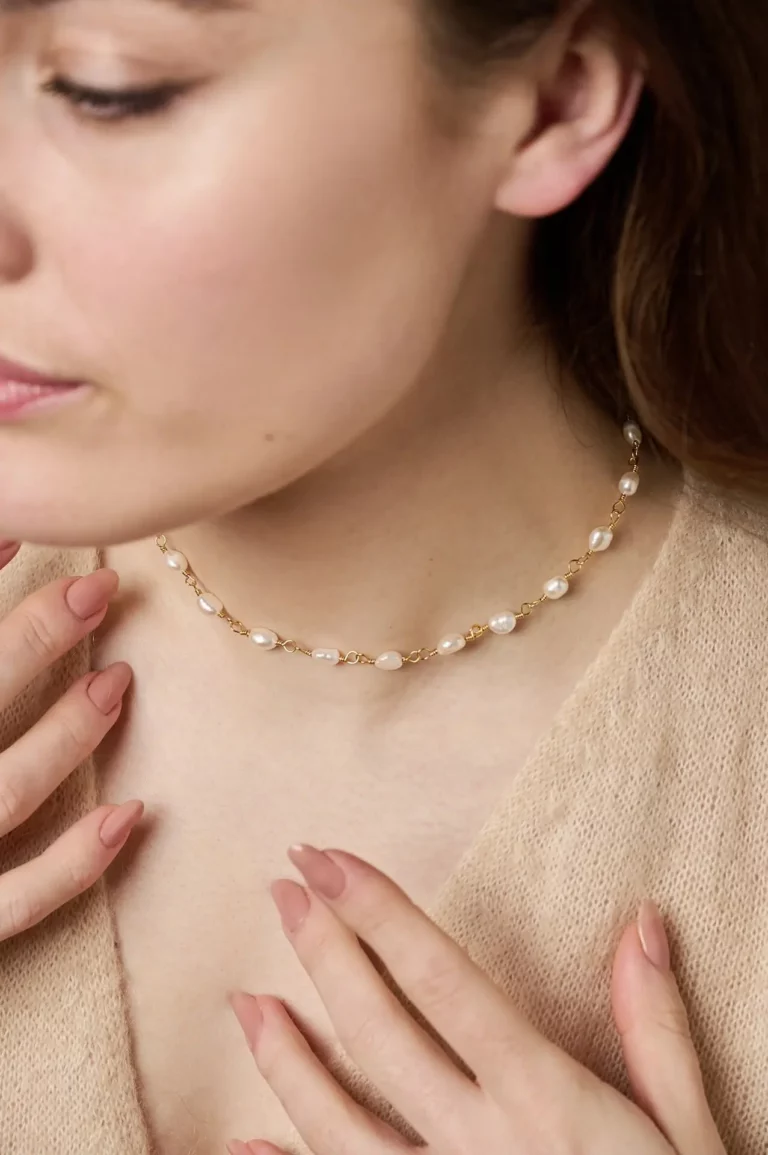
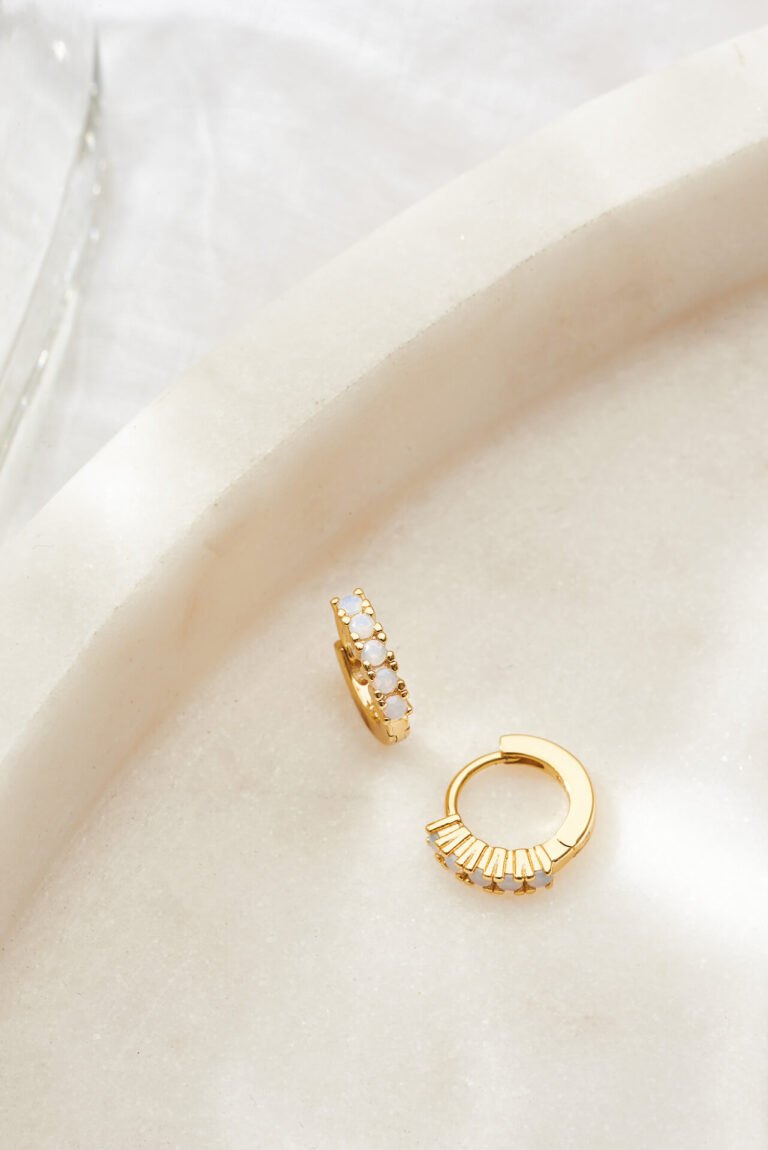
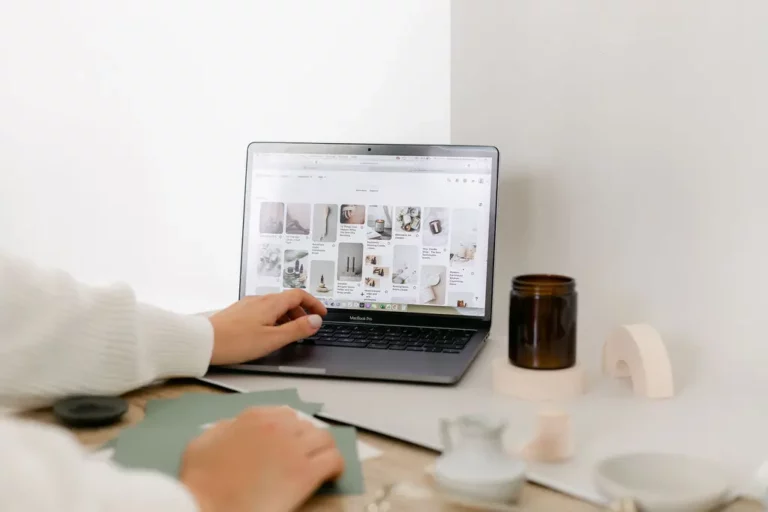
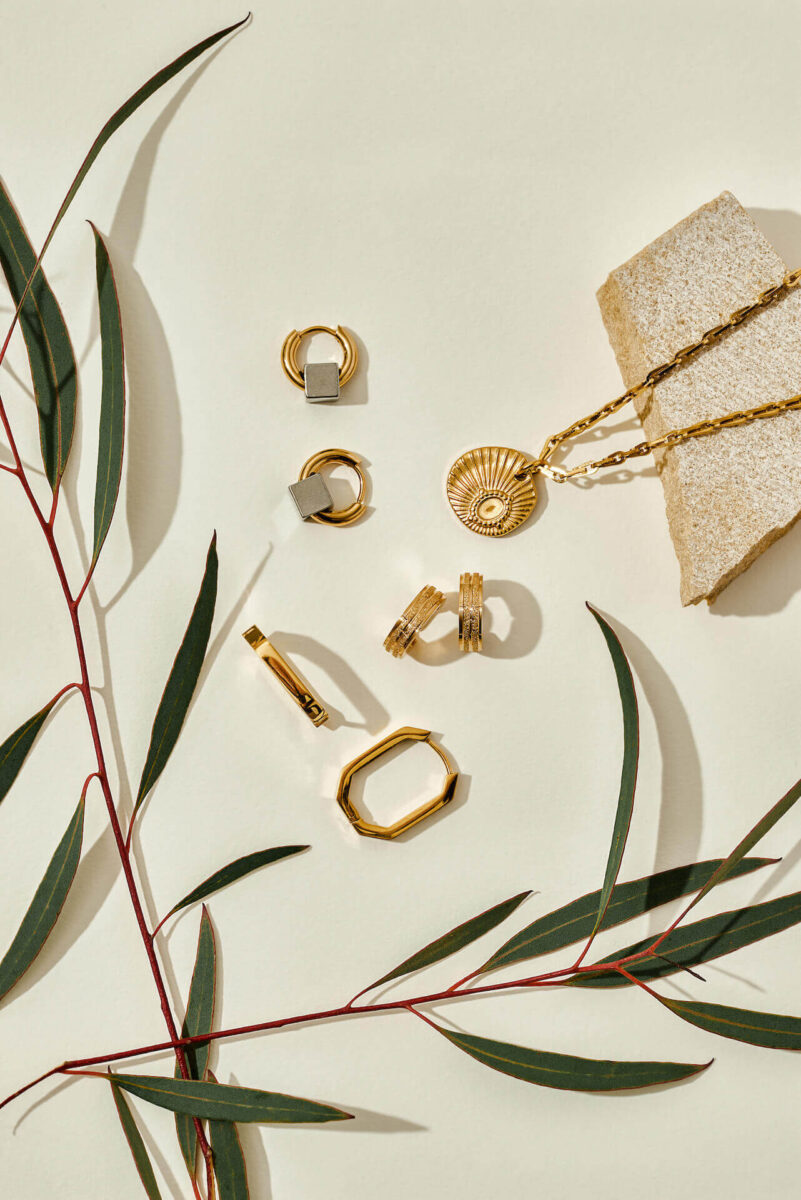
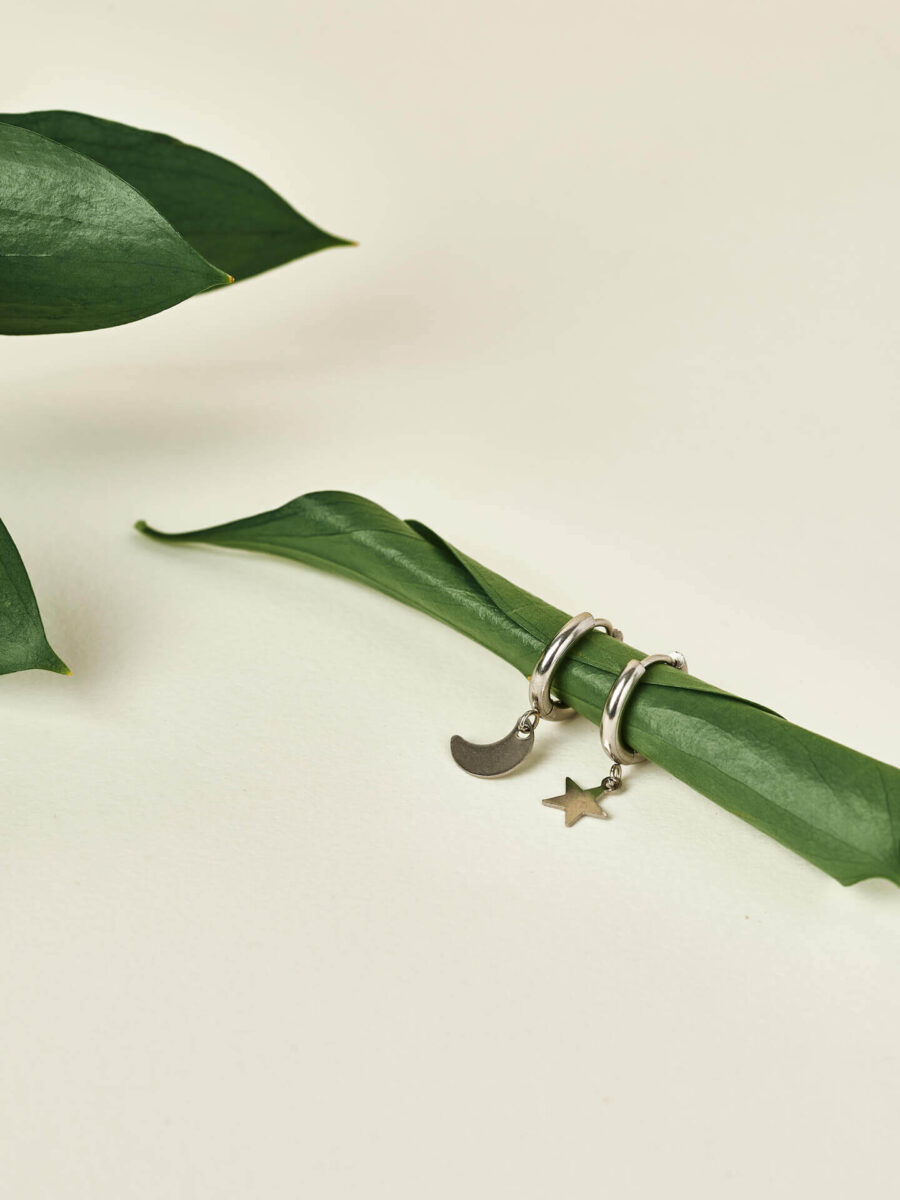
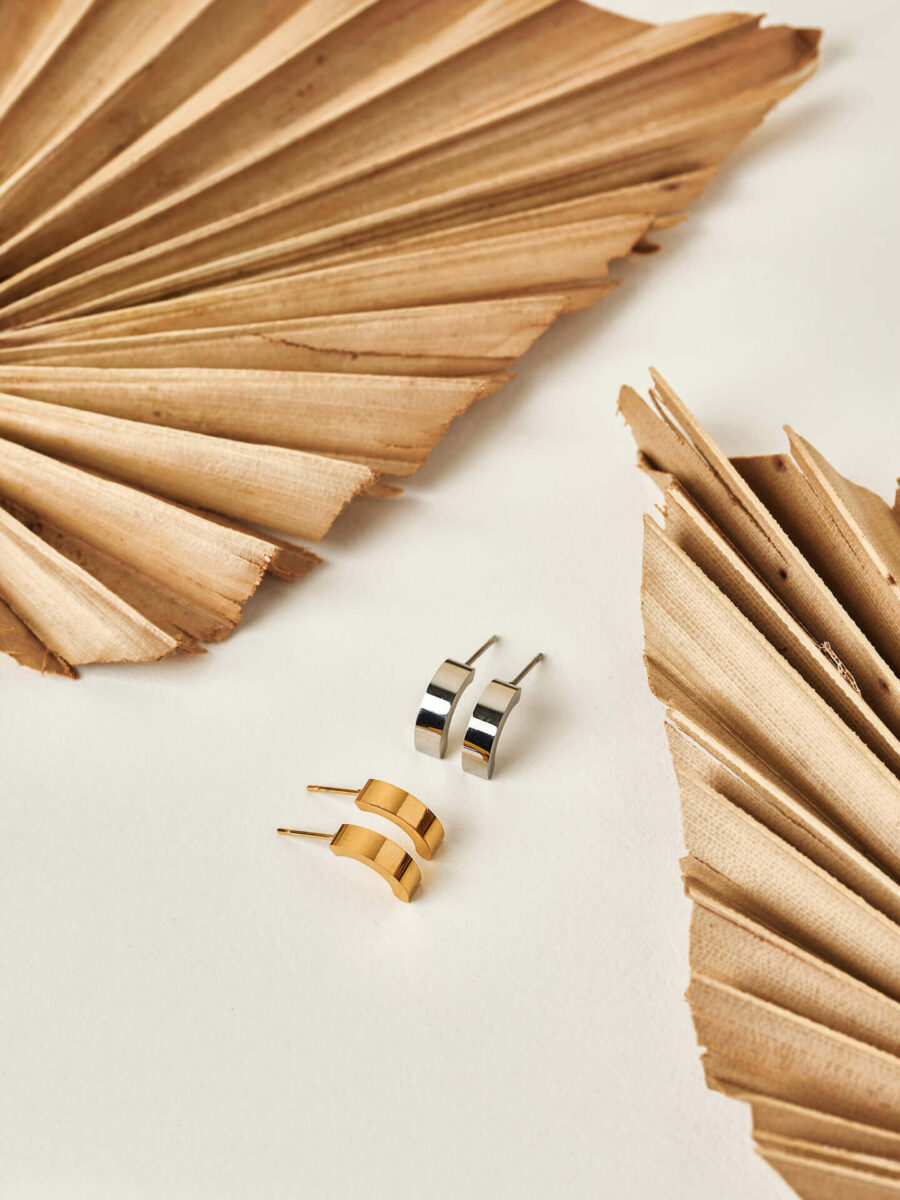
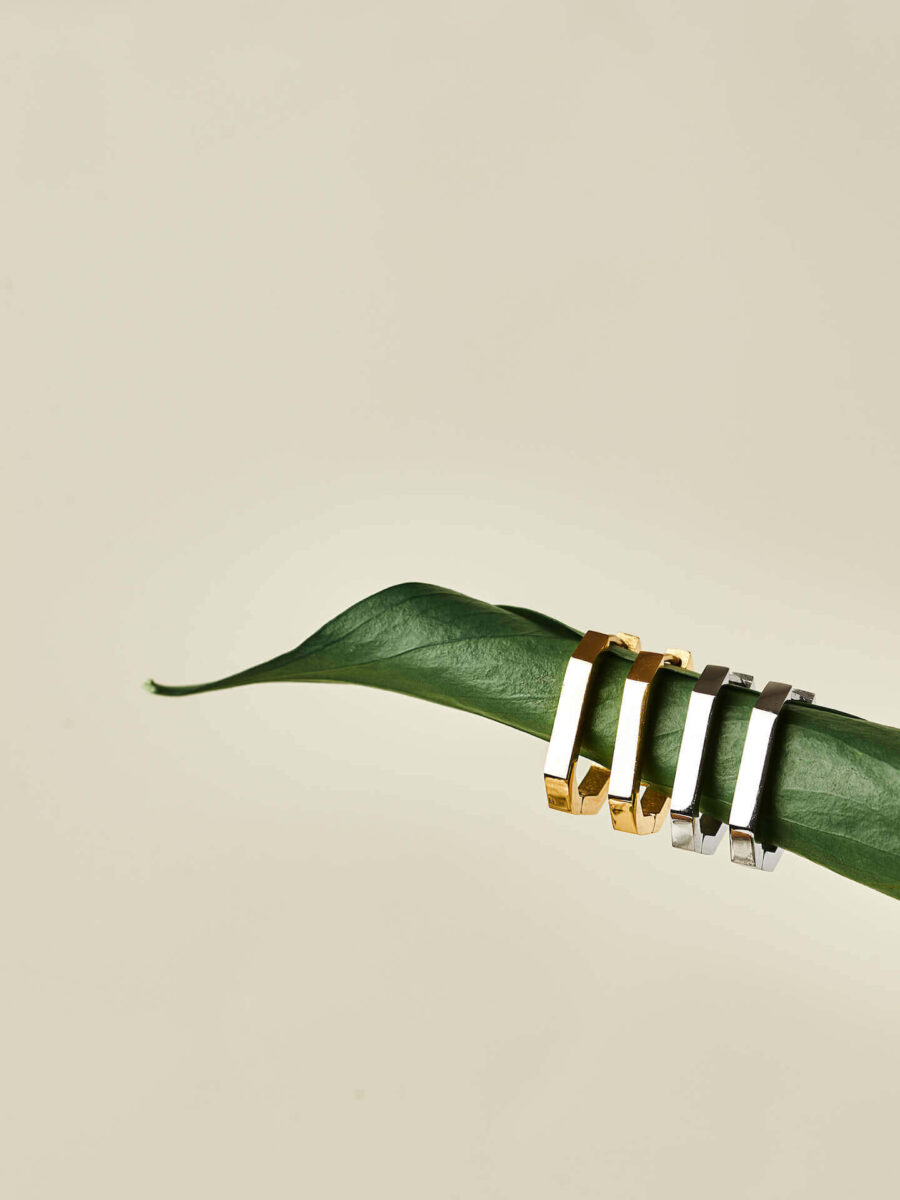
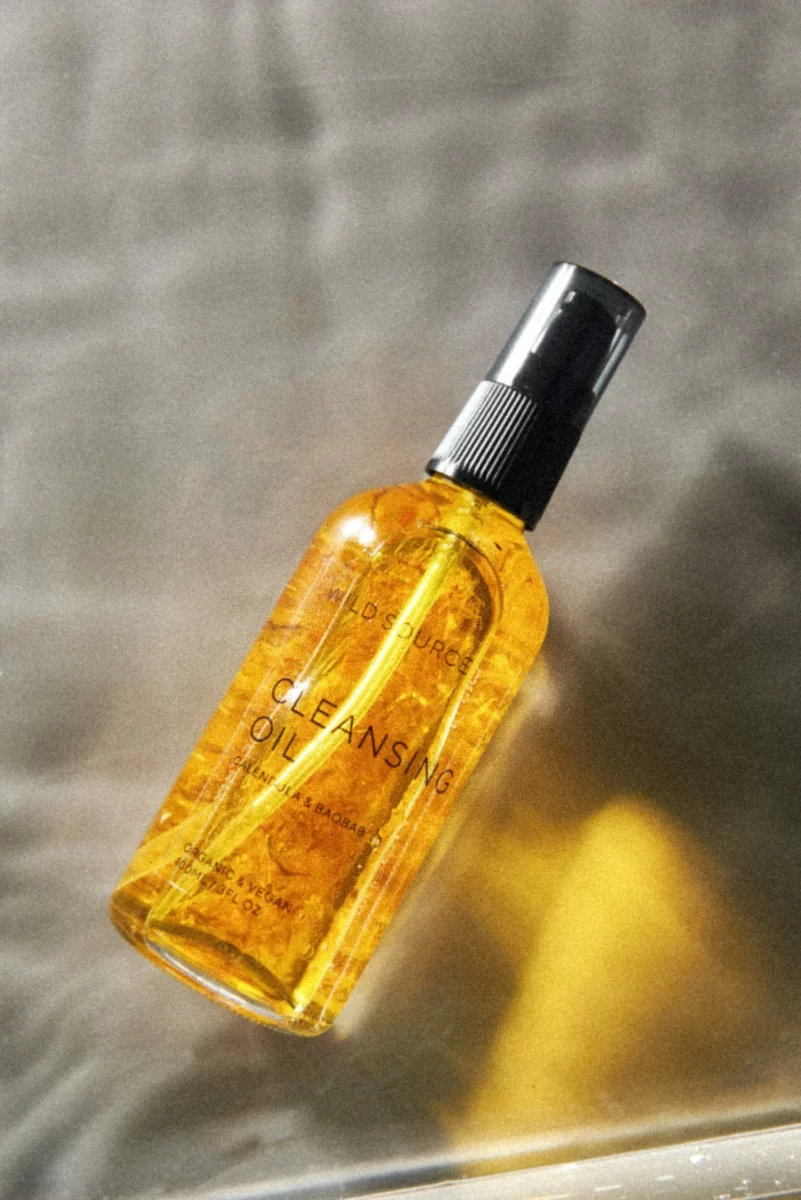
Jewellery product photography is my absolute favourite which is why I wanted to share some of my key tips when it comes to shooting your jewels at home.
There’s many challenges that come with creating your own jewellery content such as lighting, choosing the right props & backdrops, reflections, fingerprints on your jewellery pieces and so on. BUT, when you get it right – it’s truly such a rewarding feeling!
So, today I’m going to share my 5 easy ways to improve your jewellery product photography at home.
1. Lighting is key
No matter how many fancy props you have, if the lighting is bad – the image will be bad.
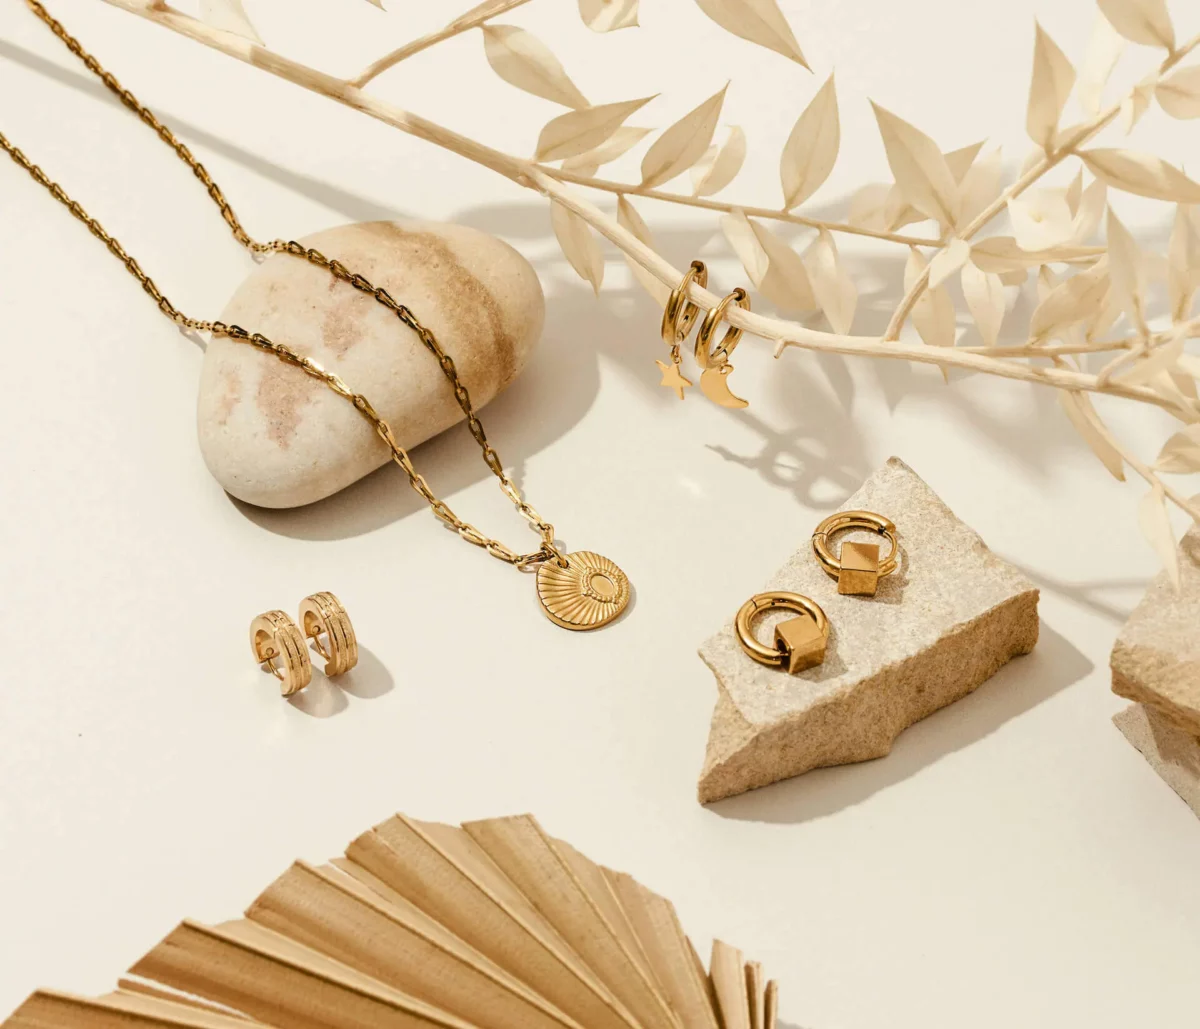
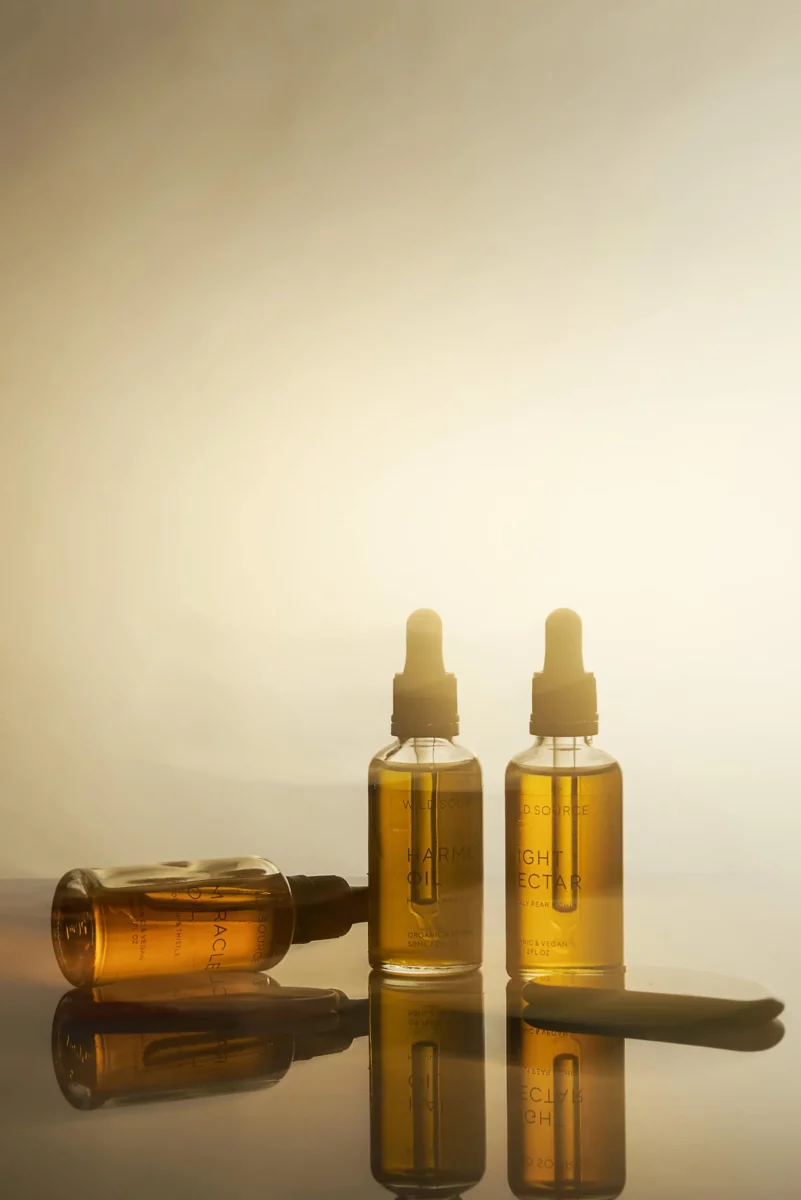
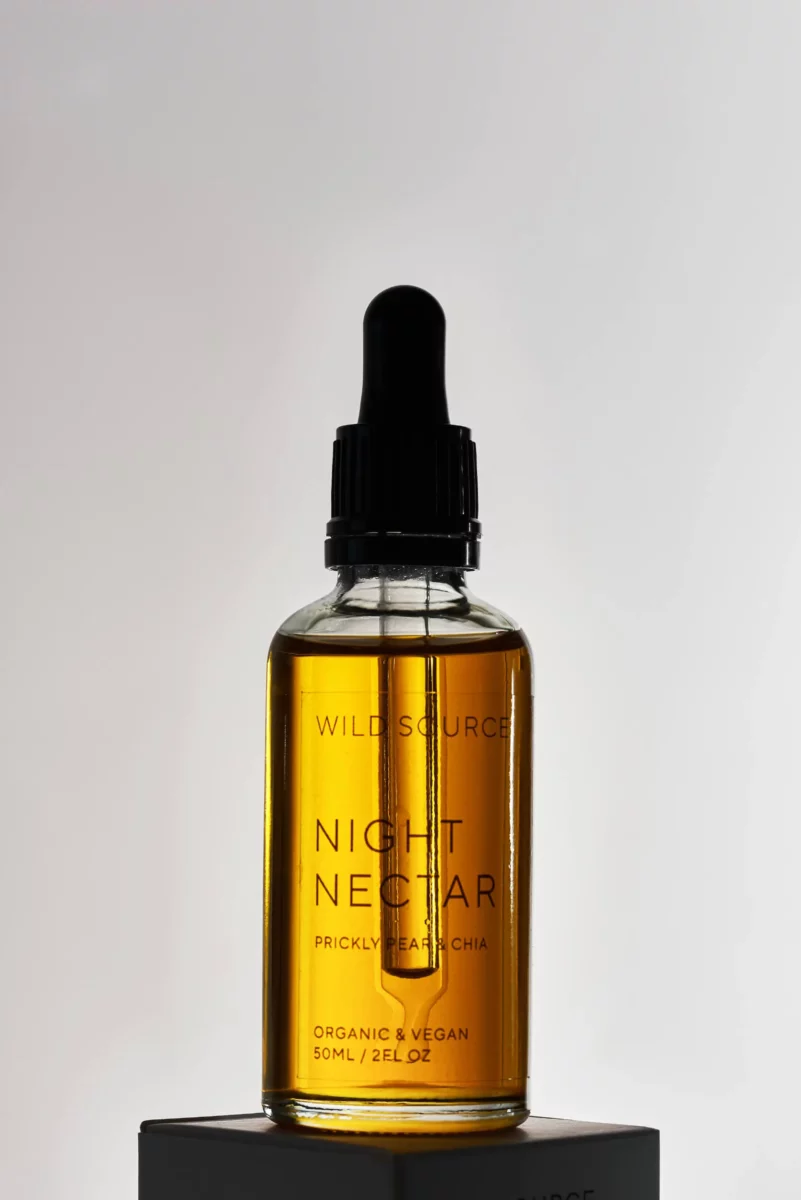
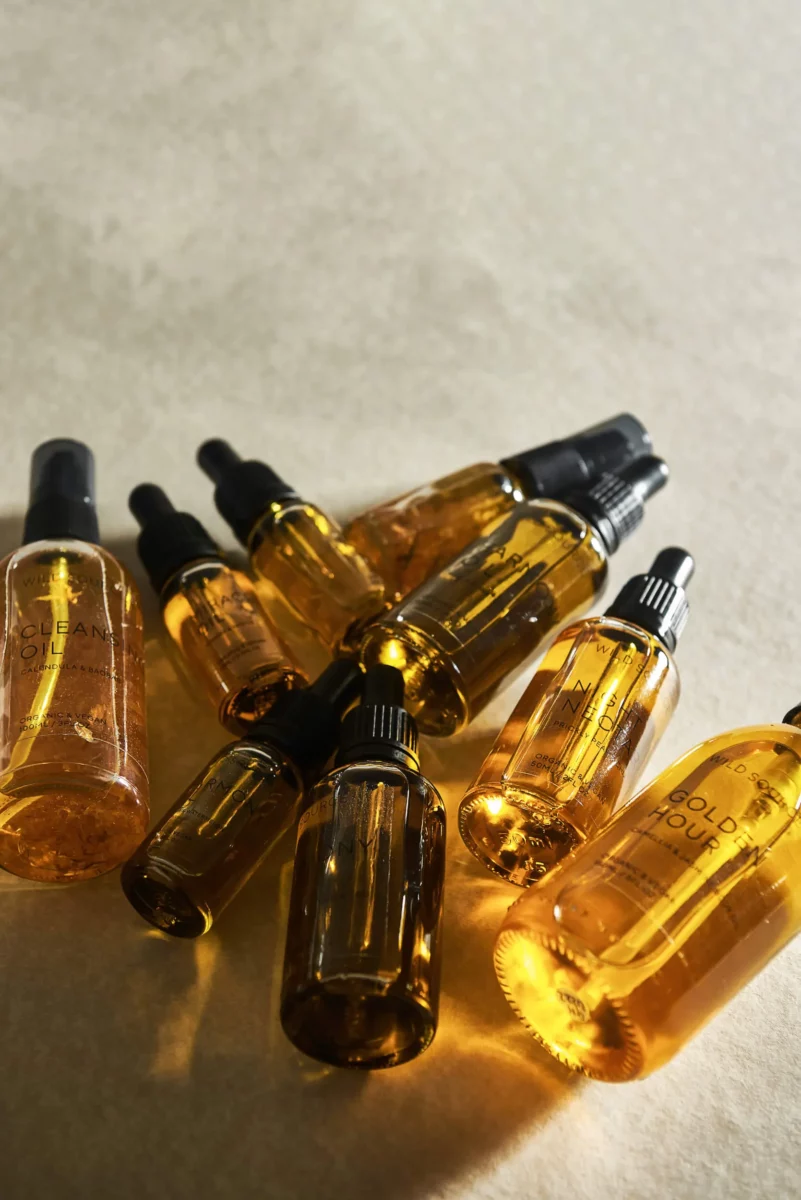
Good lighting is an absolute must and I highly encourage you to make this your priority. One of the easiest ways to improve your lighting when shooting jewellery is working with your natural source of light aka, the sun. Simply set up your scene by a window or glass door and use foam boards to reflect the light and remove shadows and for a more dramatic effect, use a black board for more intense shadows.
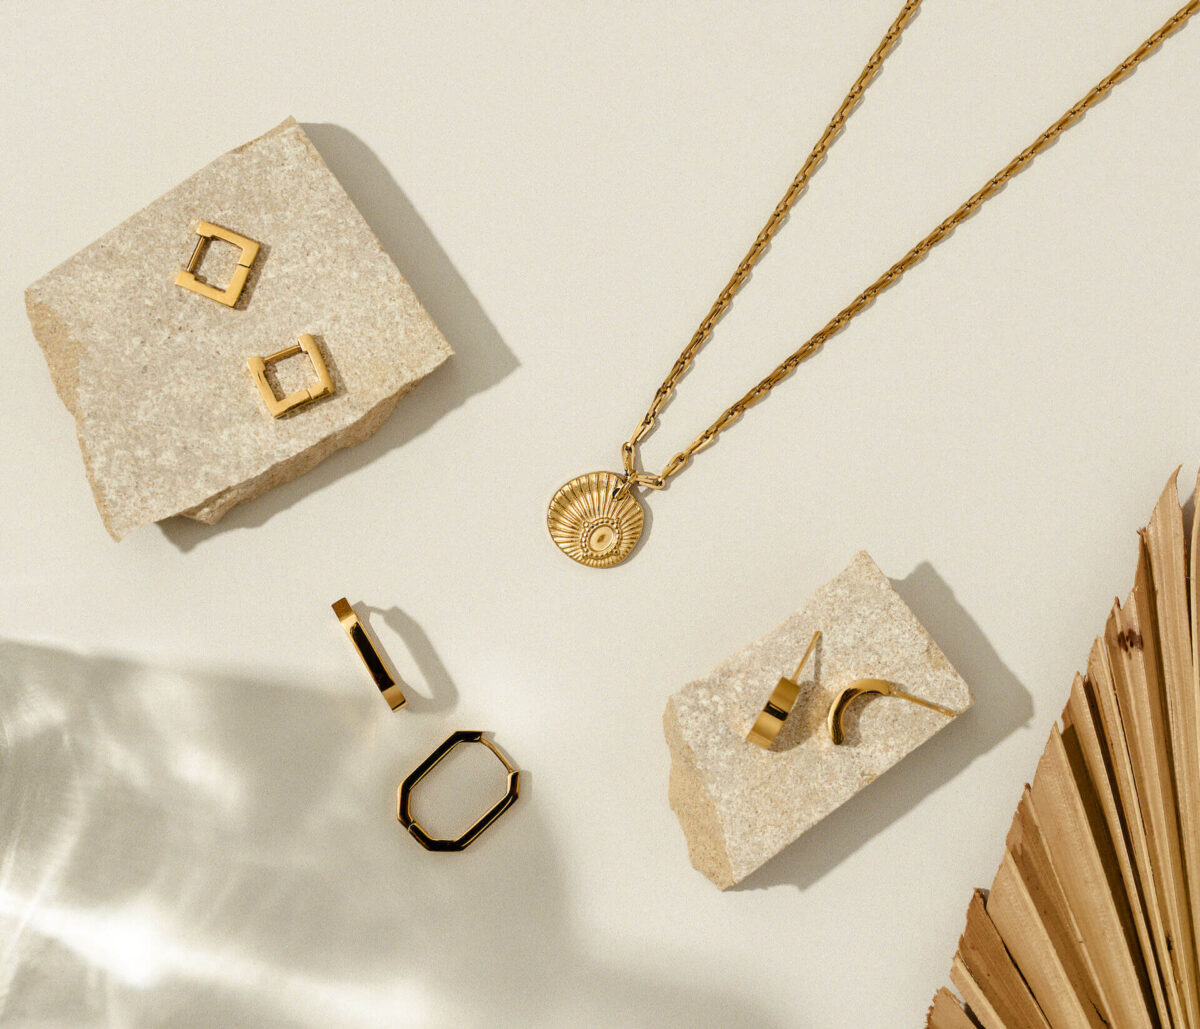
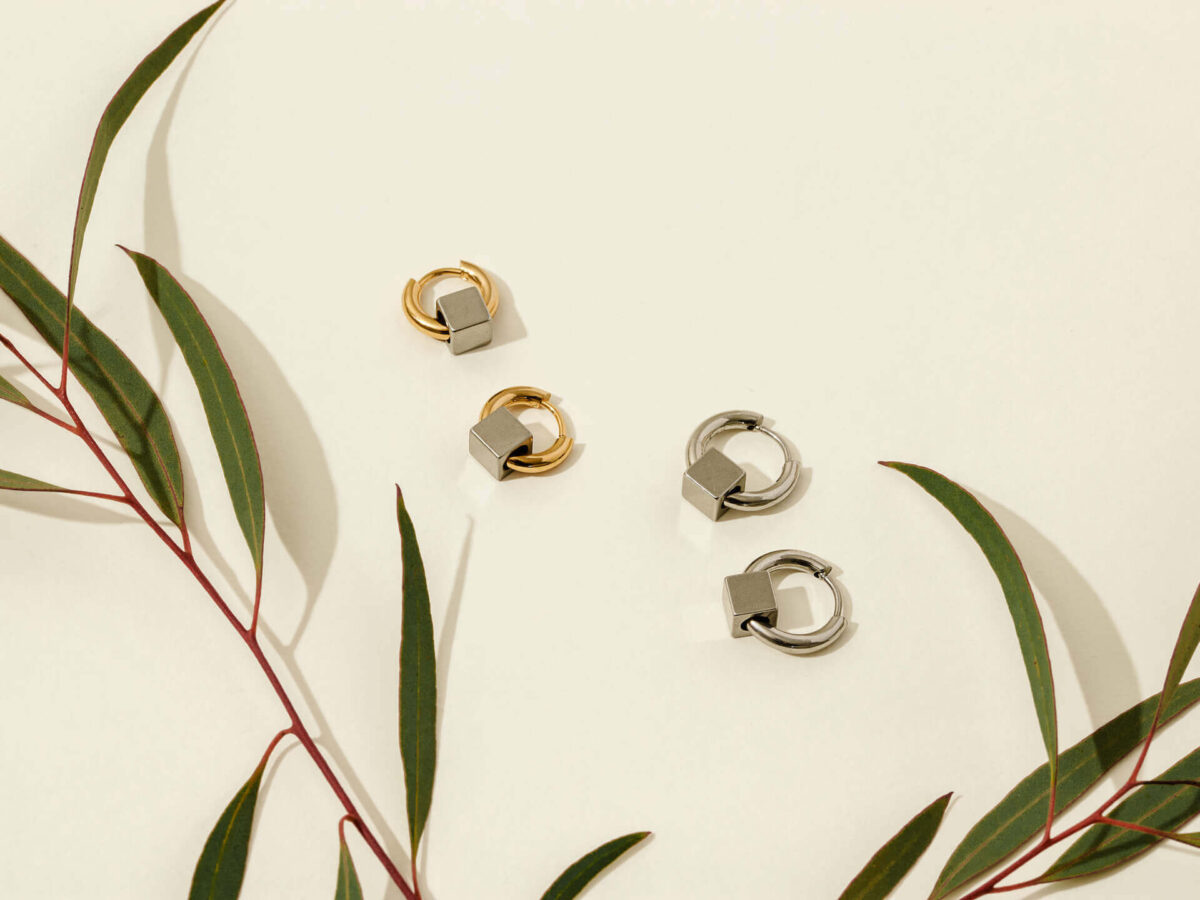
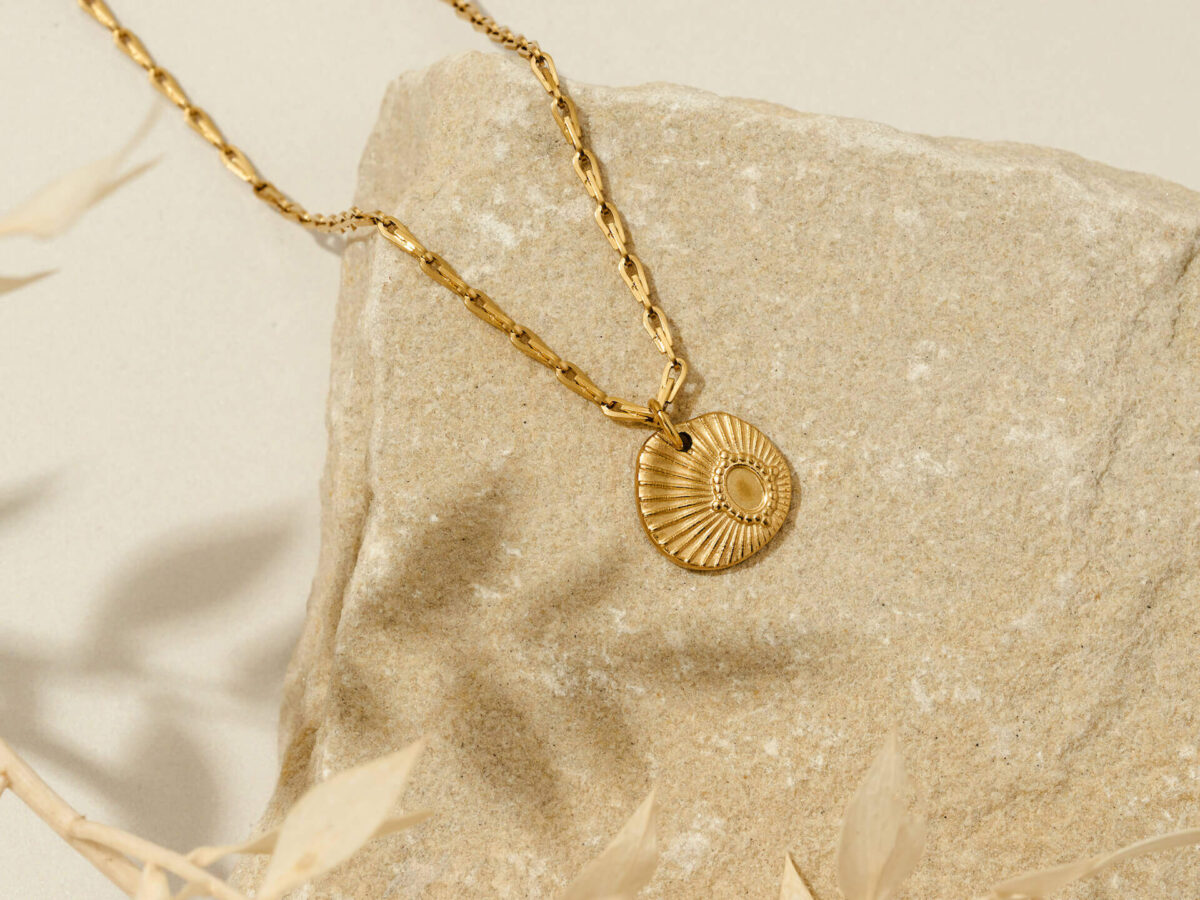
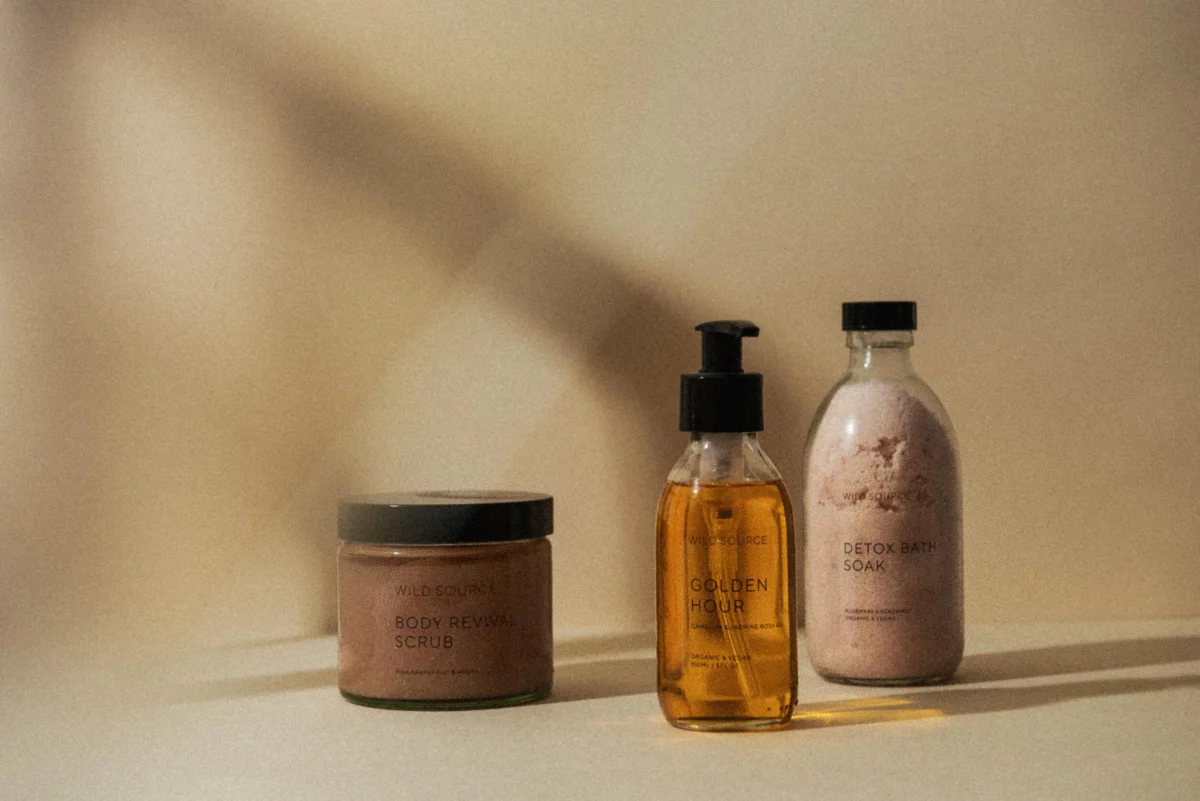
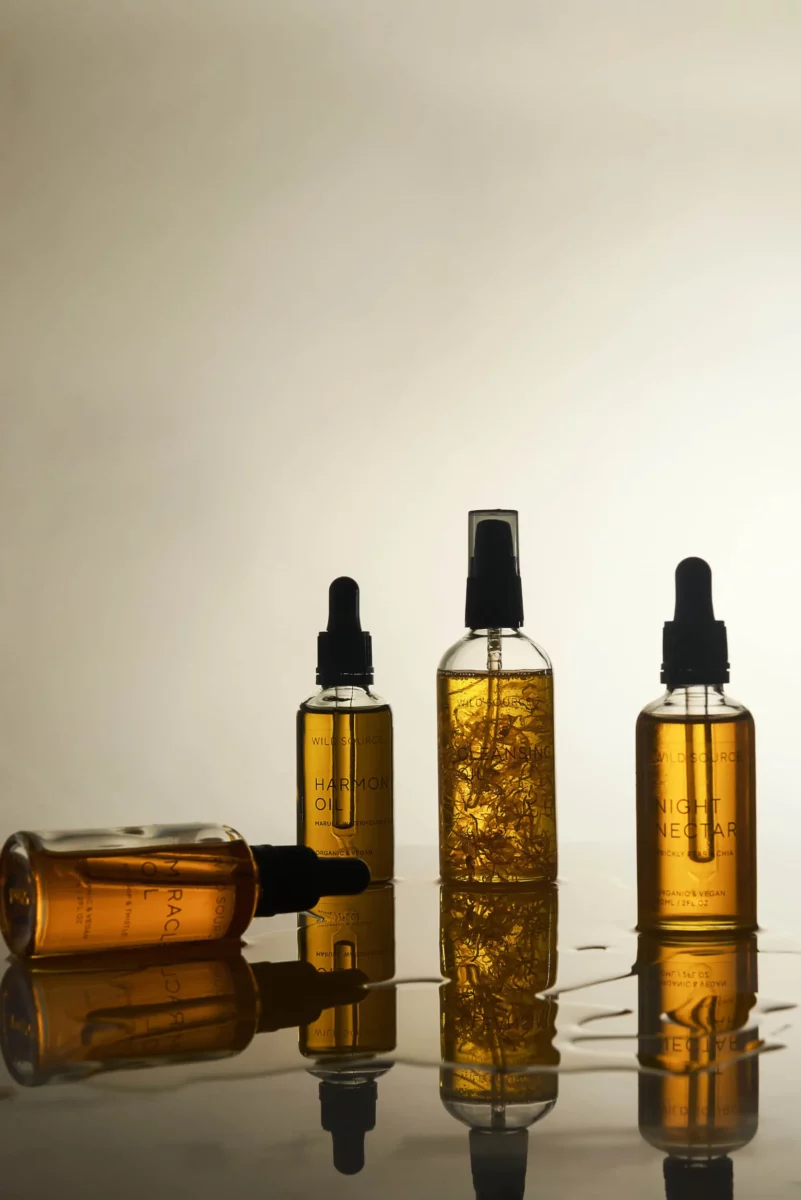
You can modify your light by using plants, GOBO (shapes) and fabrics to create interesting shadows (my personal favourite). If it’s a sunny day and the light is too harsh, you can use a diffuser or a sheer fabric for a softer look.

2. Clean your jewellery pieces
This may be an obvious one but how many have shot your products only to start editing and realise that there’s fingerprints on them? Save yourself the job of trying to remove those (it’s a big task that I always prefer to avoid) and clean each piece with a soft cloth before shooting. I would even go as far as purchasing some gloves so when you’re handling the jewellery between shots, they stay fingerprint free and photoshoot ready!

3. Incorporate your branding
Using your brand colours helps your audience remember who you are and what you sell. Using colours that are specific to your business will help cultivate a relationship with your customers. If your brand is all about using sustainable materials and your pride yourself in hand made jewellery, then your branding should reflect this. You can then use props with complementing colours or find fabrics that tie to your brand.
Using some packaging, gift boxes and thank you notes is another great way for your audience to remember who you are. This type of brand collateral makes for great props too and adds more interest and dynamic to the shot.

4. Less is more
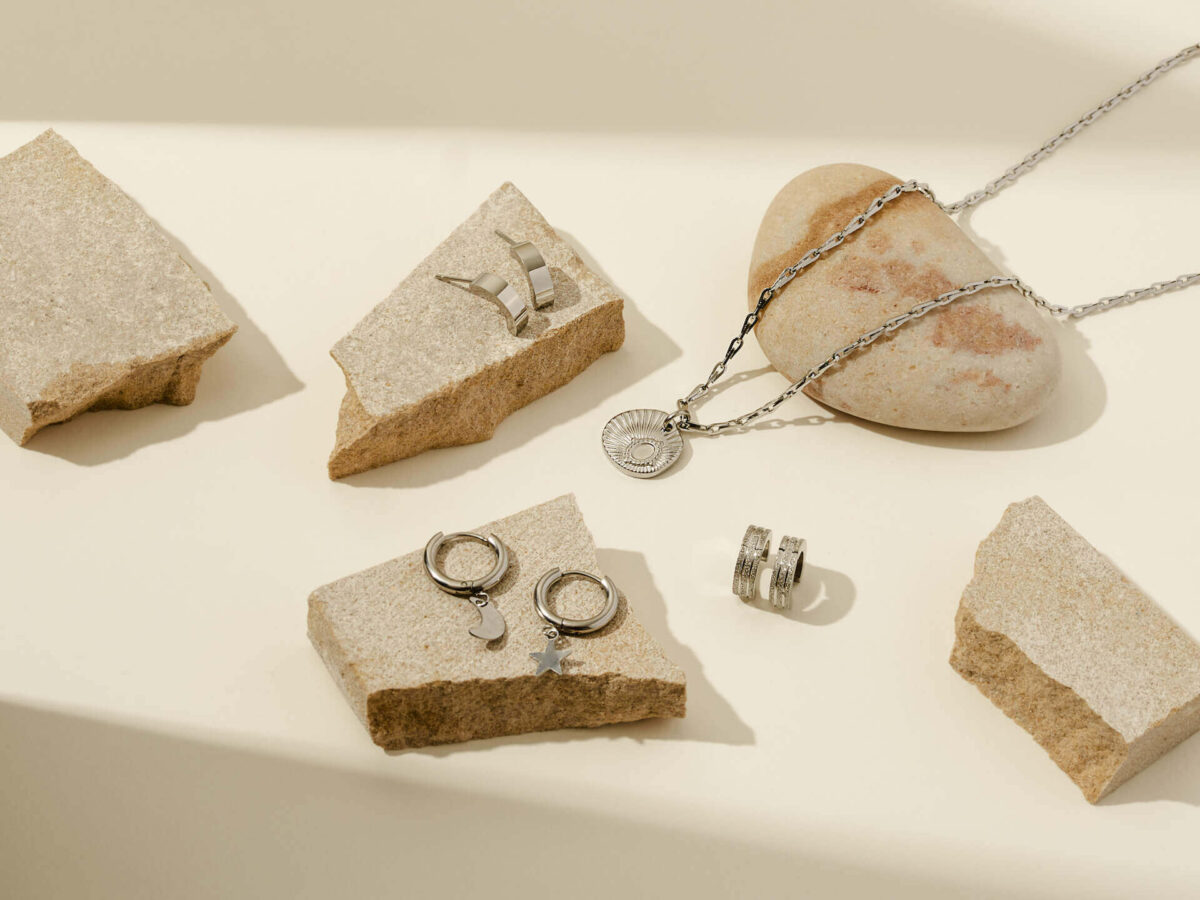
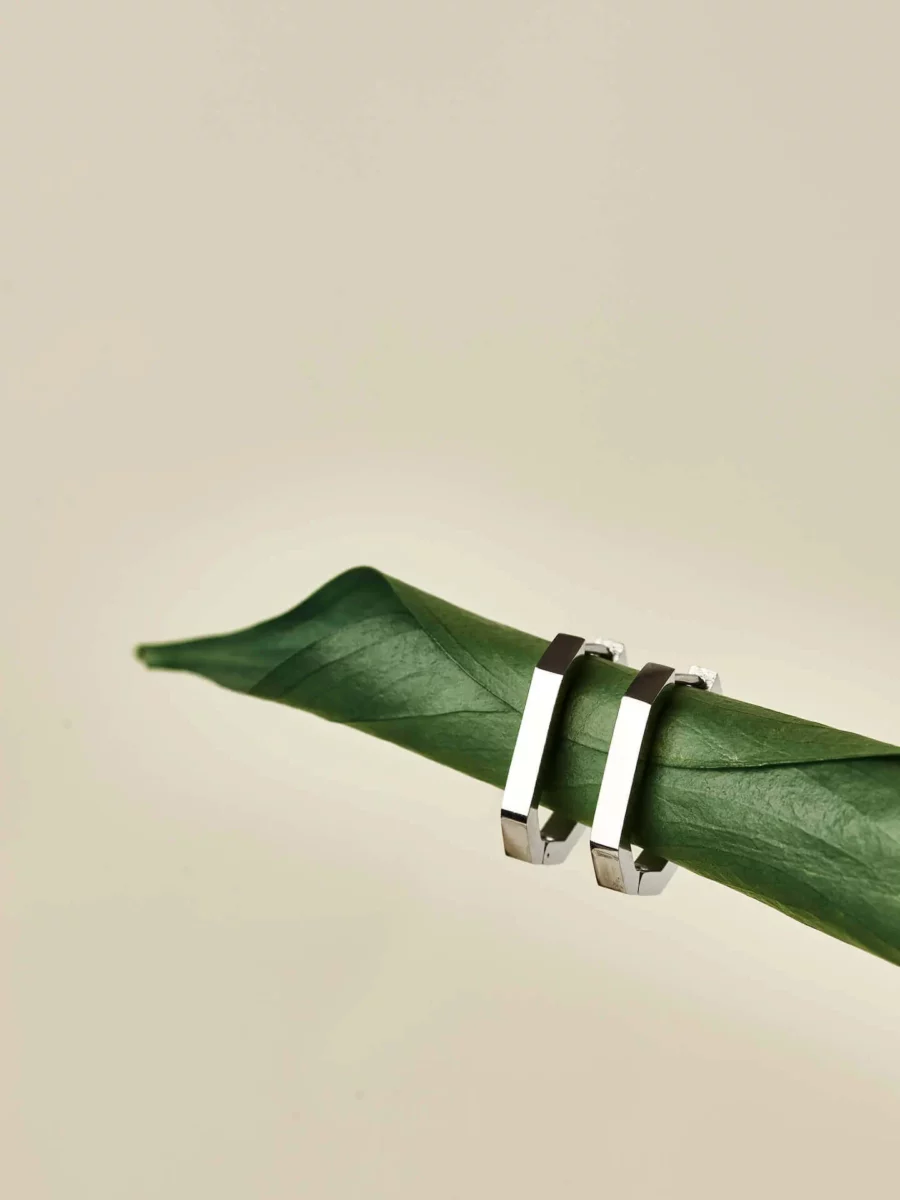
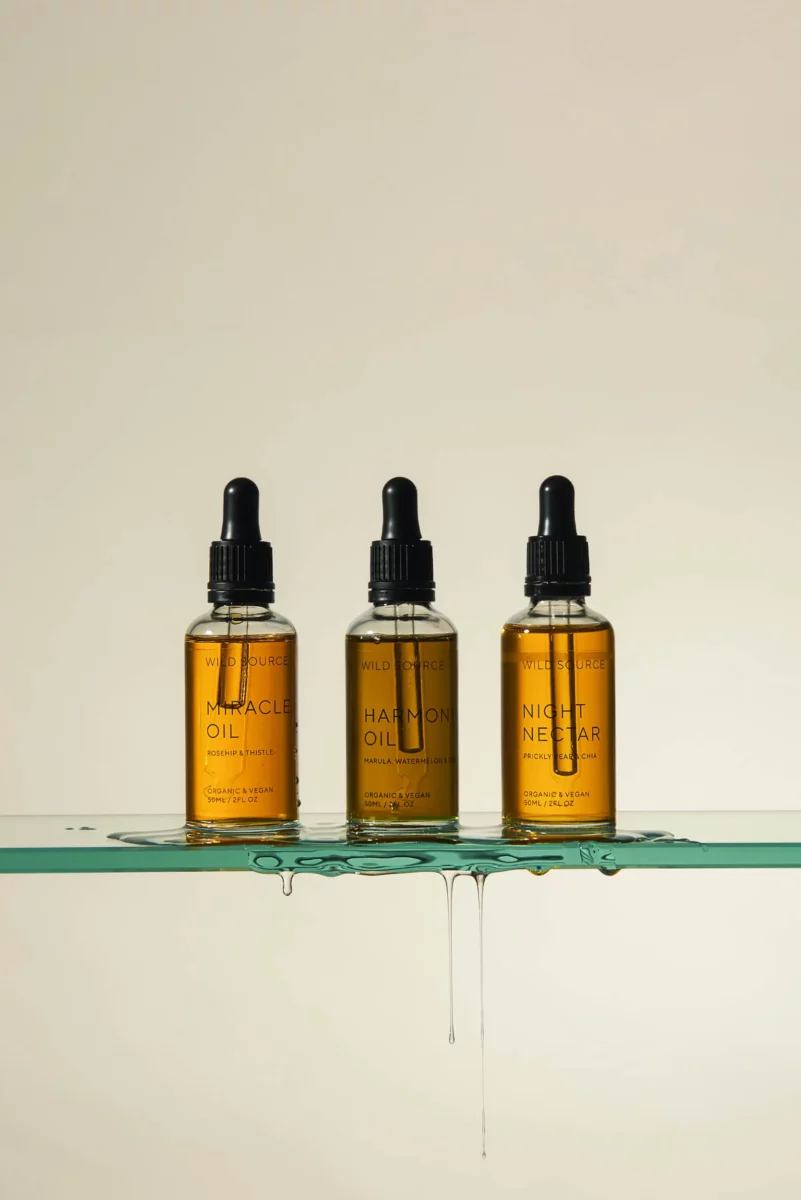
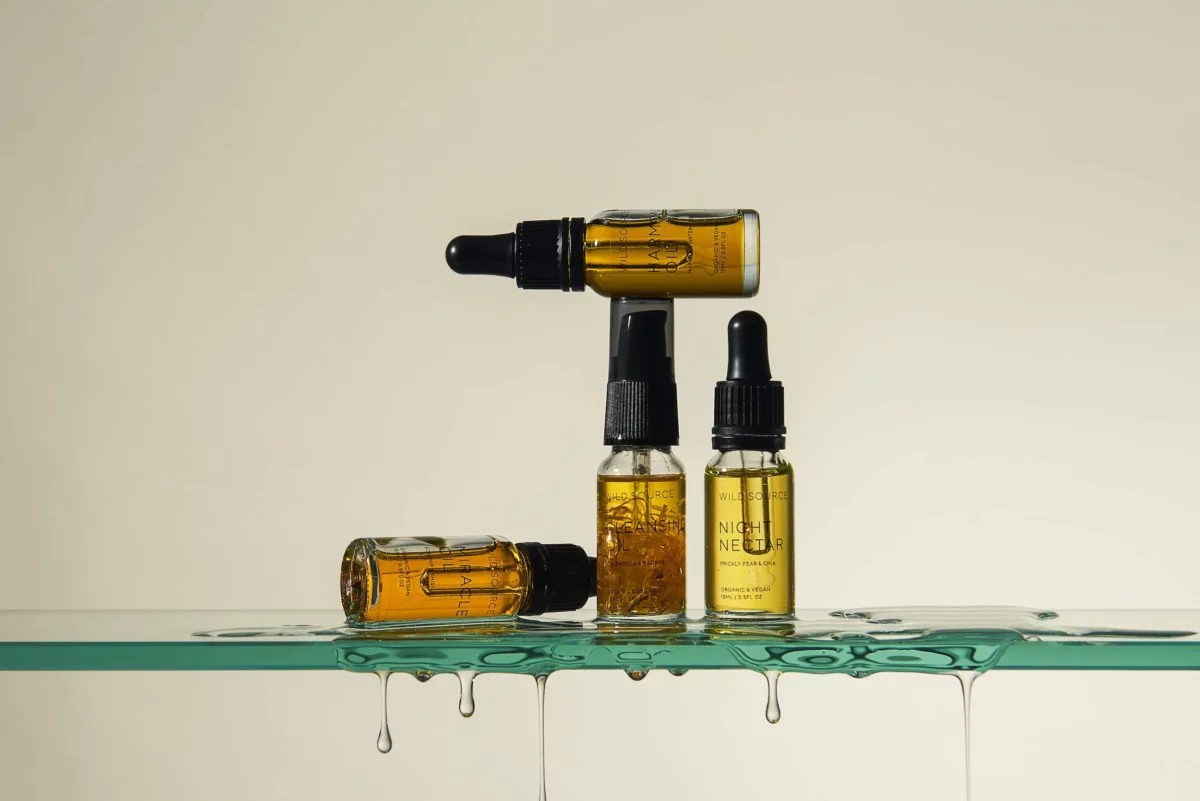
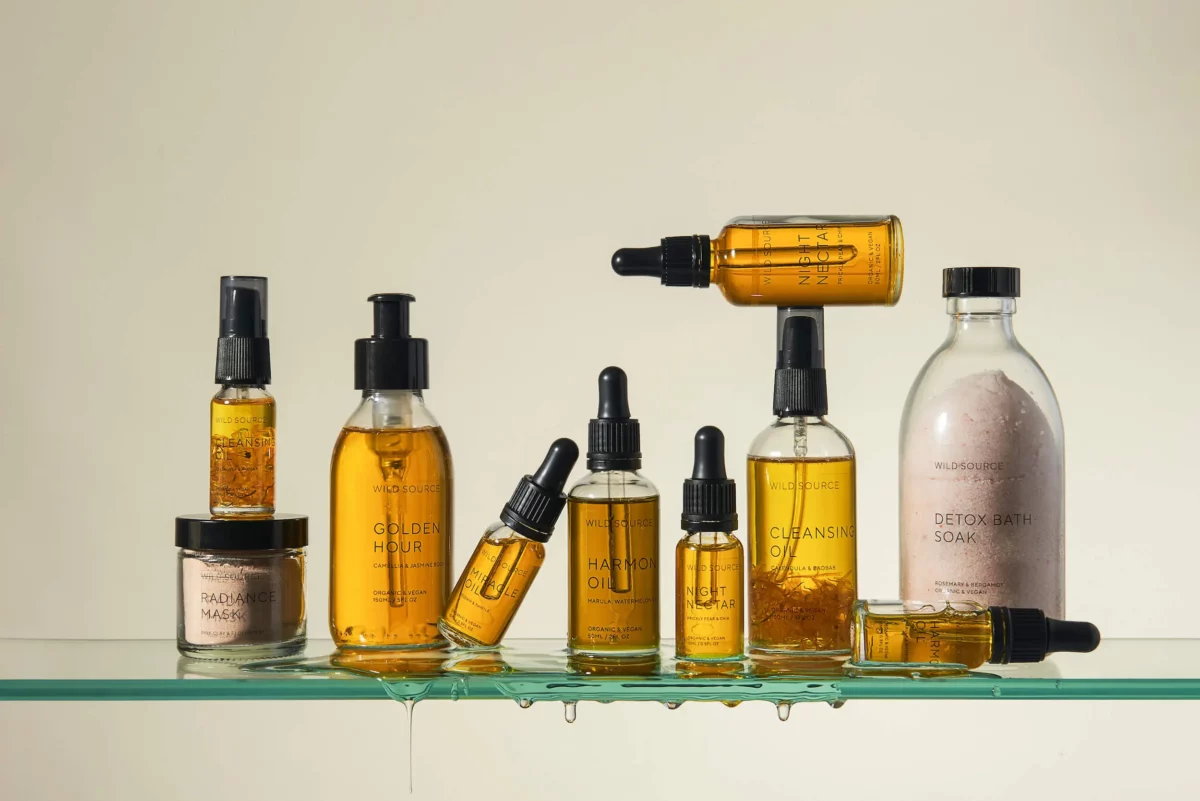
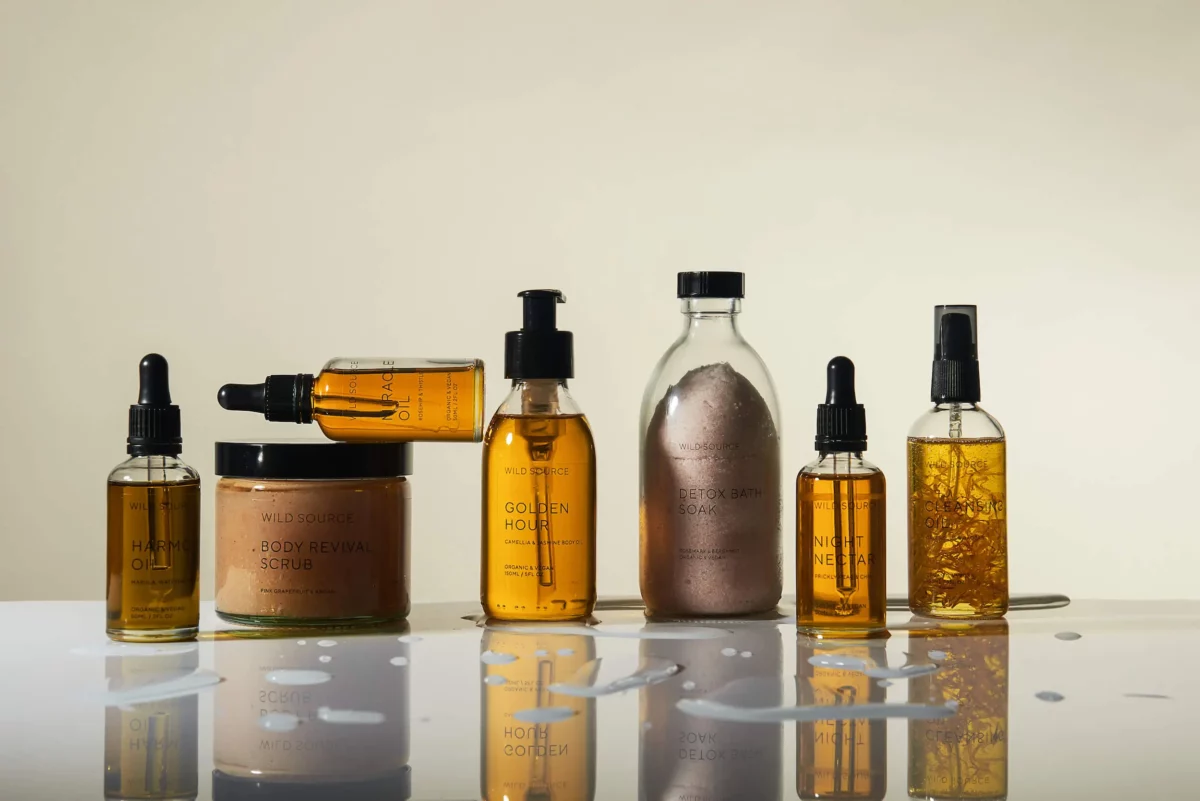
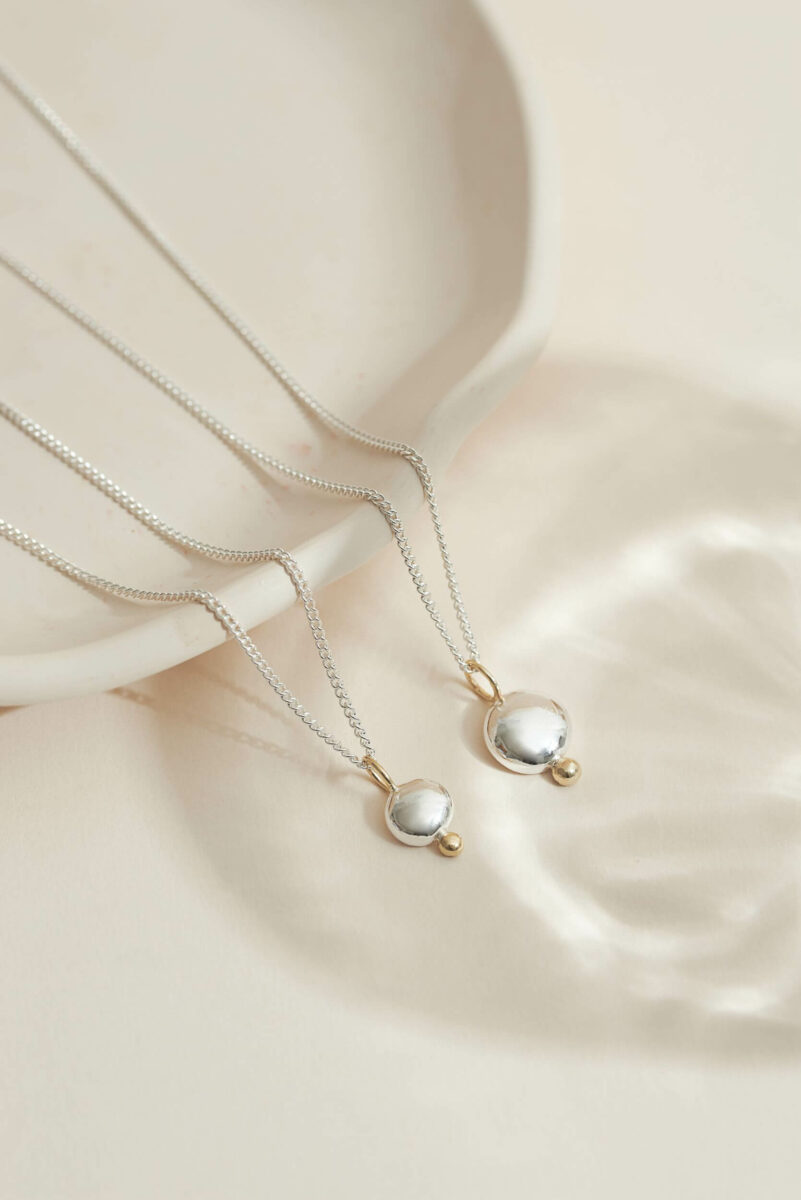
When it comes to choosing your props & backdrops for jewellery photography, I always recommend starting with something minimal. Most of the time an uncluttered scene works best because at the end of the day, the jewellery is the real hero.
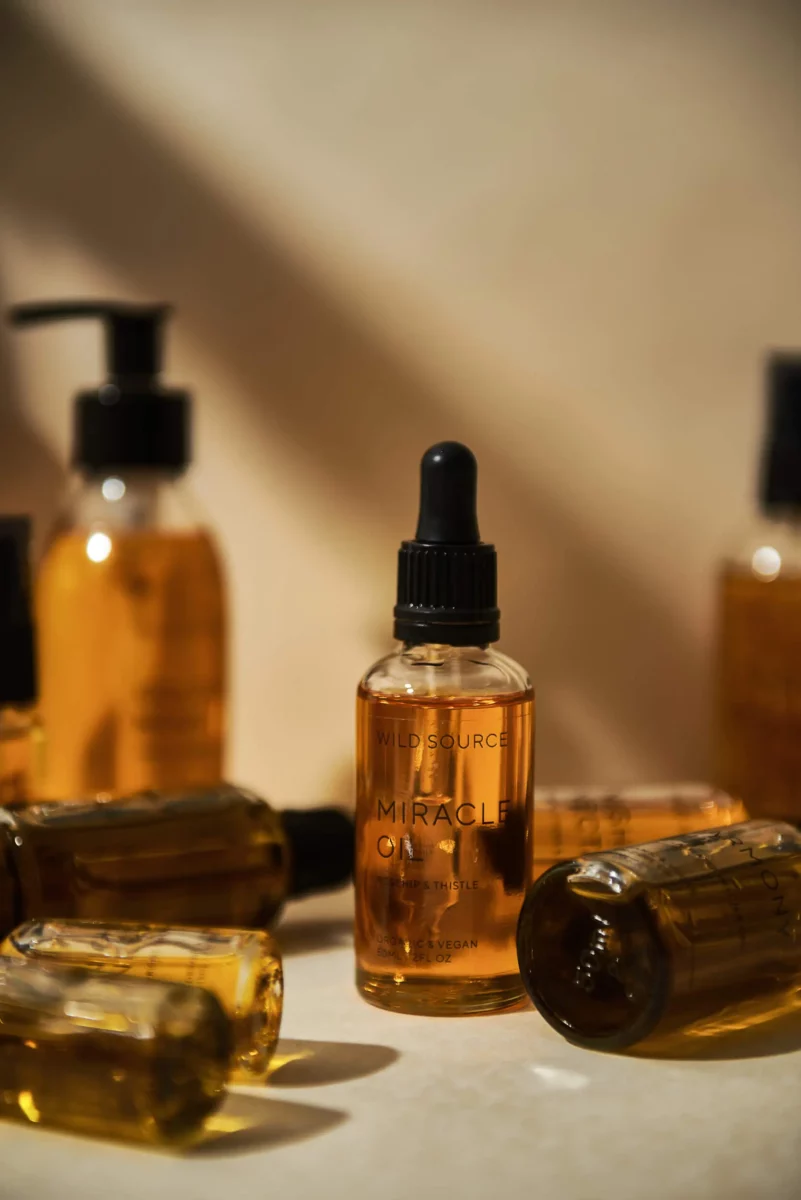
I often choose a light coloured backdrop, whether that’s a vinyl backdrop or a delicate linen and build my scene from there. I love playing around with shadows and when I do, I only use one or two other props, this way my composition stays super minimal but effective.
5. Choose relevant props
Your audience is buying with their eyes so you want to make sure that when they look at your photo, they are immediately drawn to it, most of the time they might not even know why! This is because you carefully chose what you’re trying to say with your product images.
For example, if you’re shooting delicate and minimal engagement rings, you might want to use a light backdrop, shoot with natural light and add some soft fabrics to convey that luxurious yet minimalist feeling. If you start adding random props that have nothing to do with the rings, you simply end up confusing your audience. And a confused audience = no sales!

Ready to take your jewellery images to the next level?
Next time you plan your jewellery product shoot, take some time to think about where your photos are going to end up, who you’re trying to appeal to and what is going to compliment your pieces.
Happy shooting!


